Shader Node Guide

1. Noise code vs noise texture 2. Fix the Sampler State 3. Switch property precision to Half 4. Compute-heavy nodes
Implementation
- 01
Noise code vs noise texture
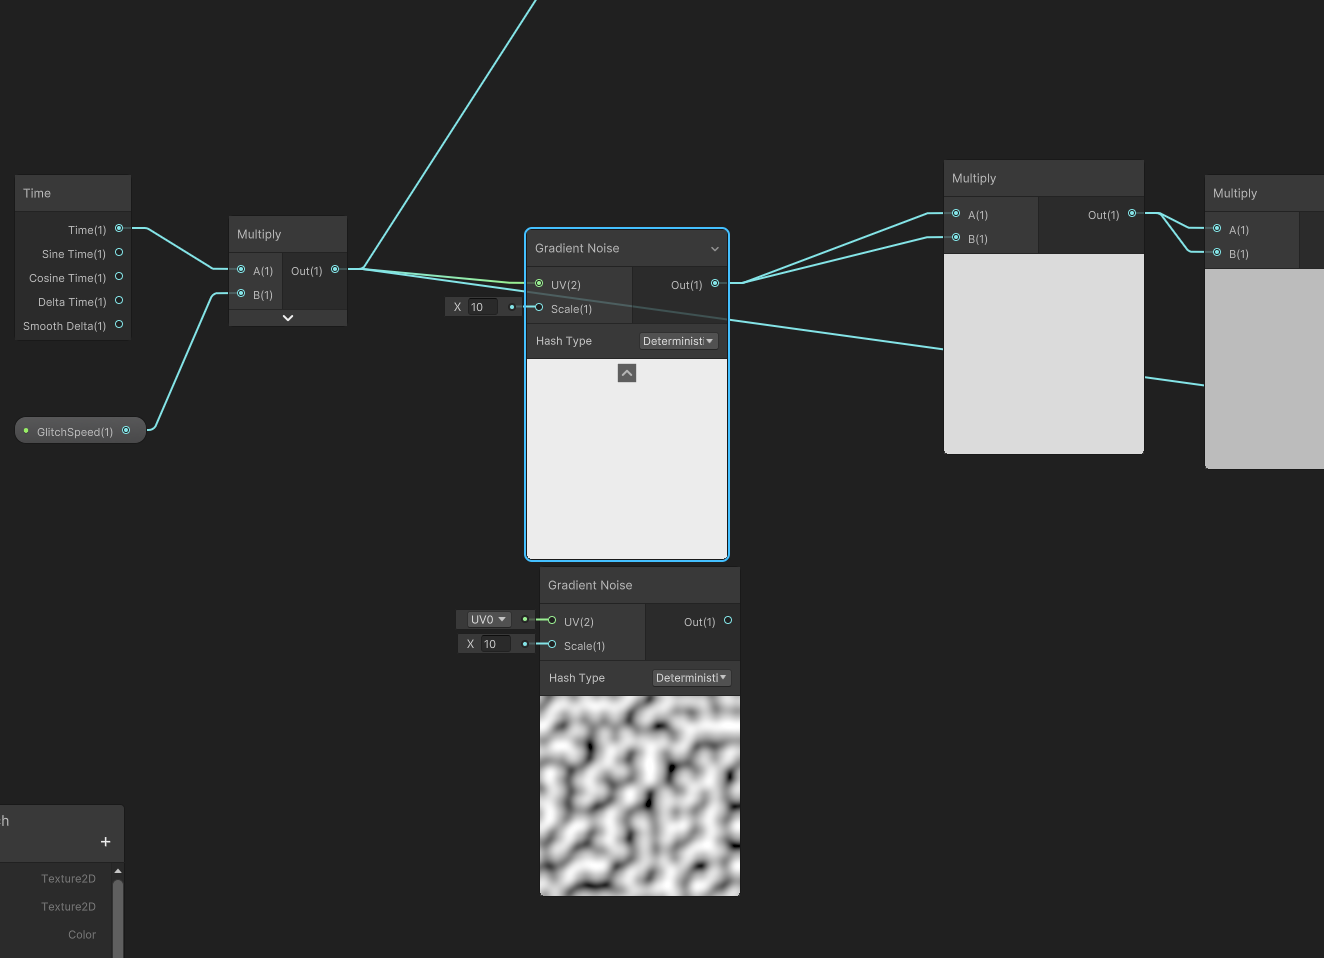
Instead of a noise texture, code-generated noise is being used, but the compute cost is high so using a 128 or 64 px texture is preferable.
Use code noise only when high-quality noise is required.
- 02
Fix the Sampler State
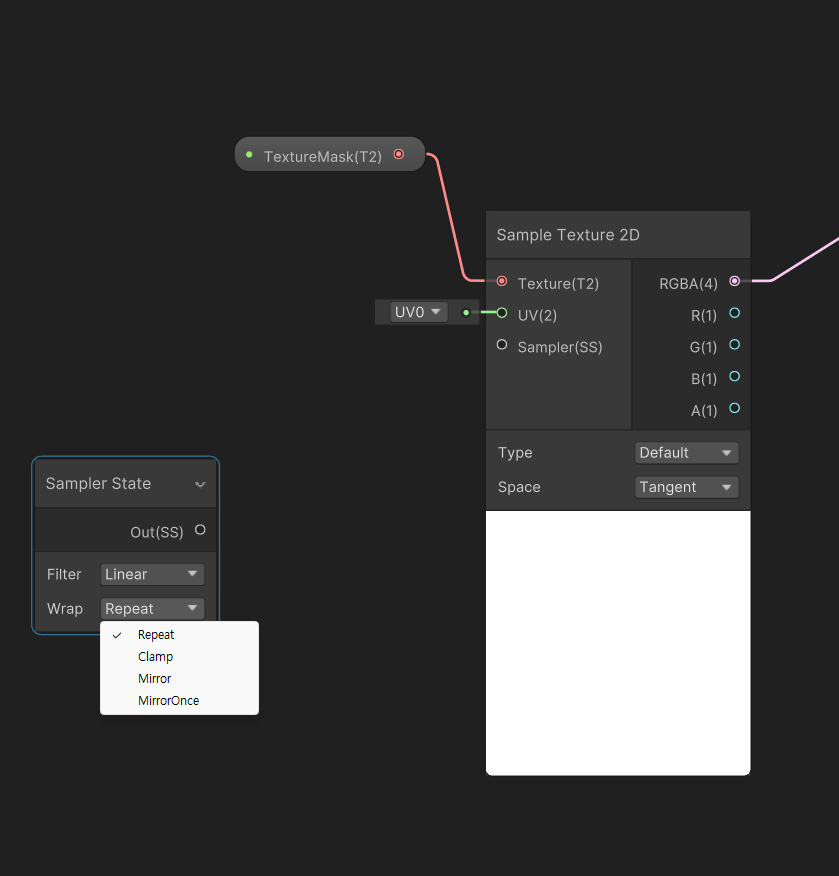
If multiple textures in one pass use different Sampler States, the GPU sees frequent texture/sampler state changes, which can cause Draw Call splits or some overhead.
Repeat: textures that need tiling
Clamp: textures that don't need tiling
- 03
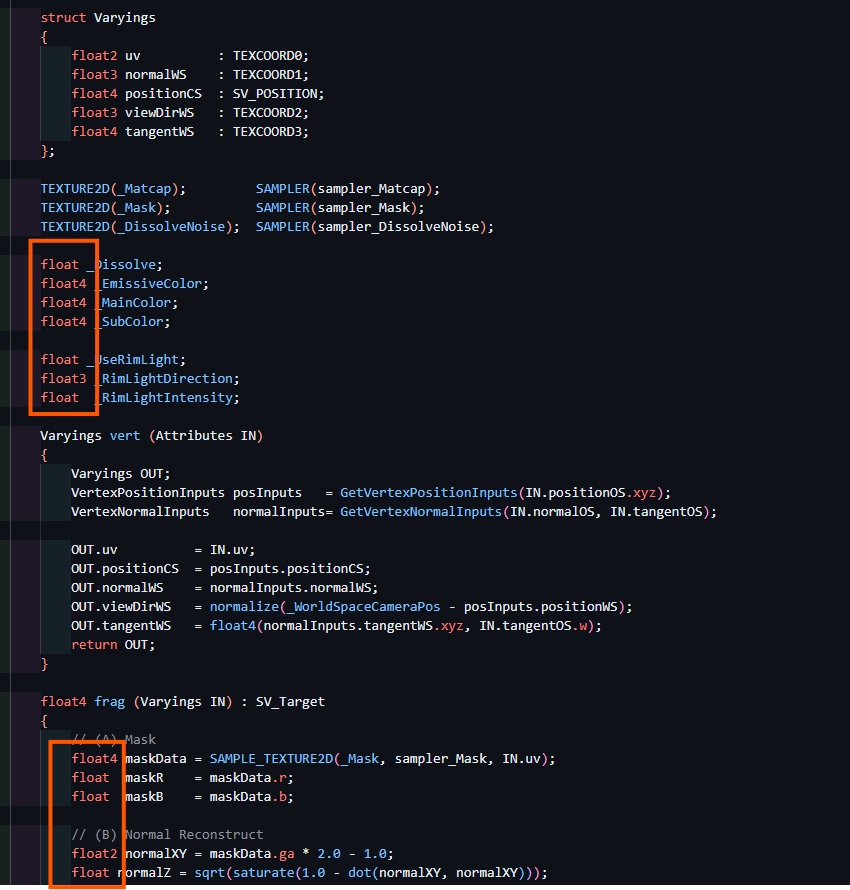
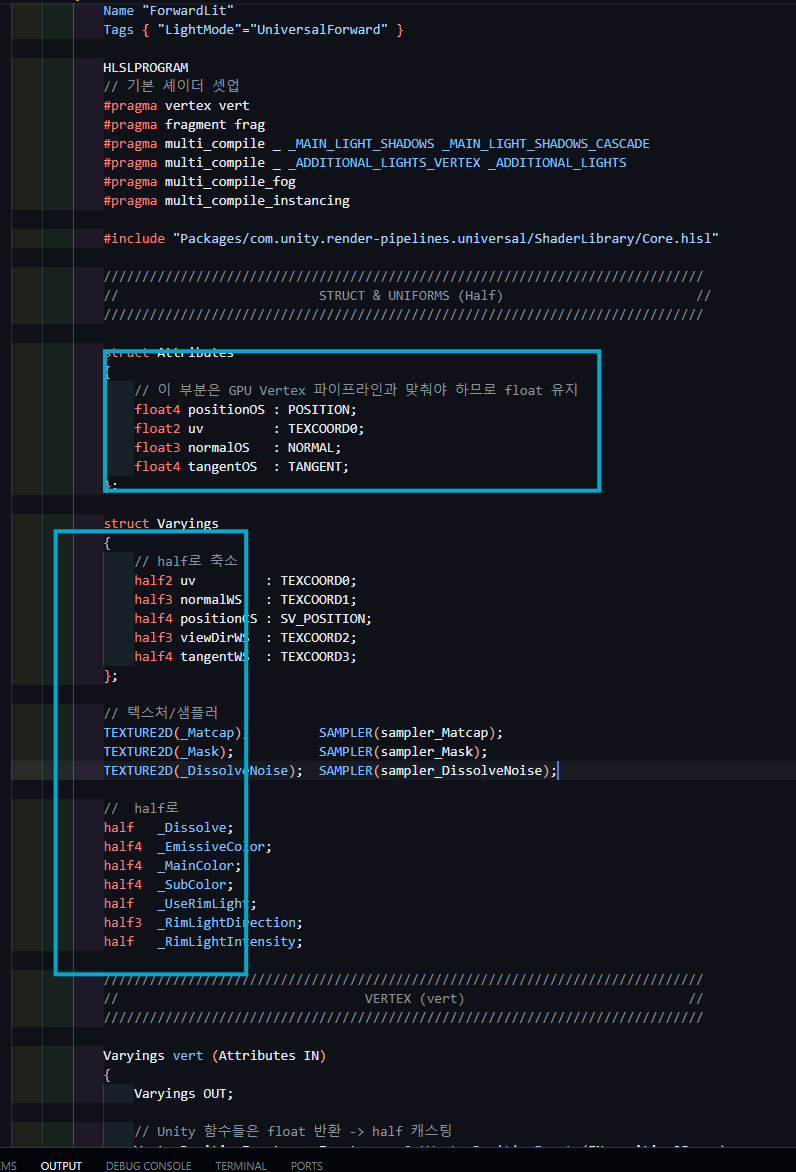
Switch property precision to Half
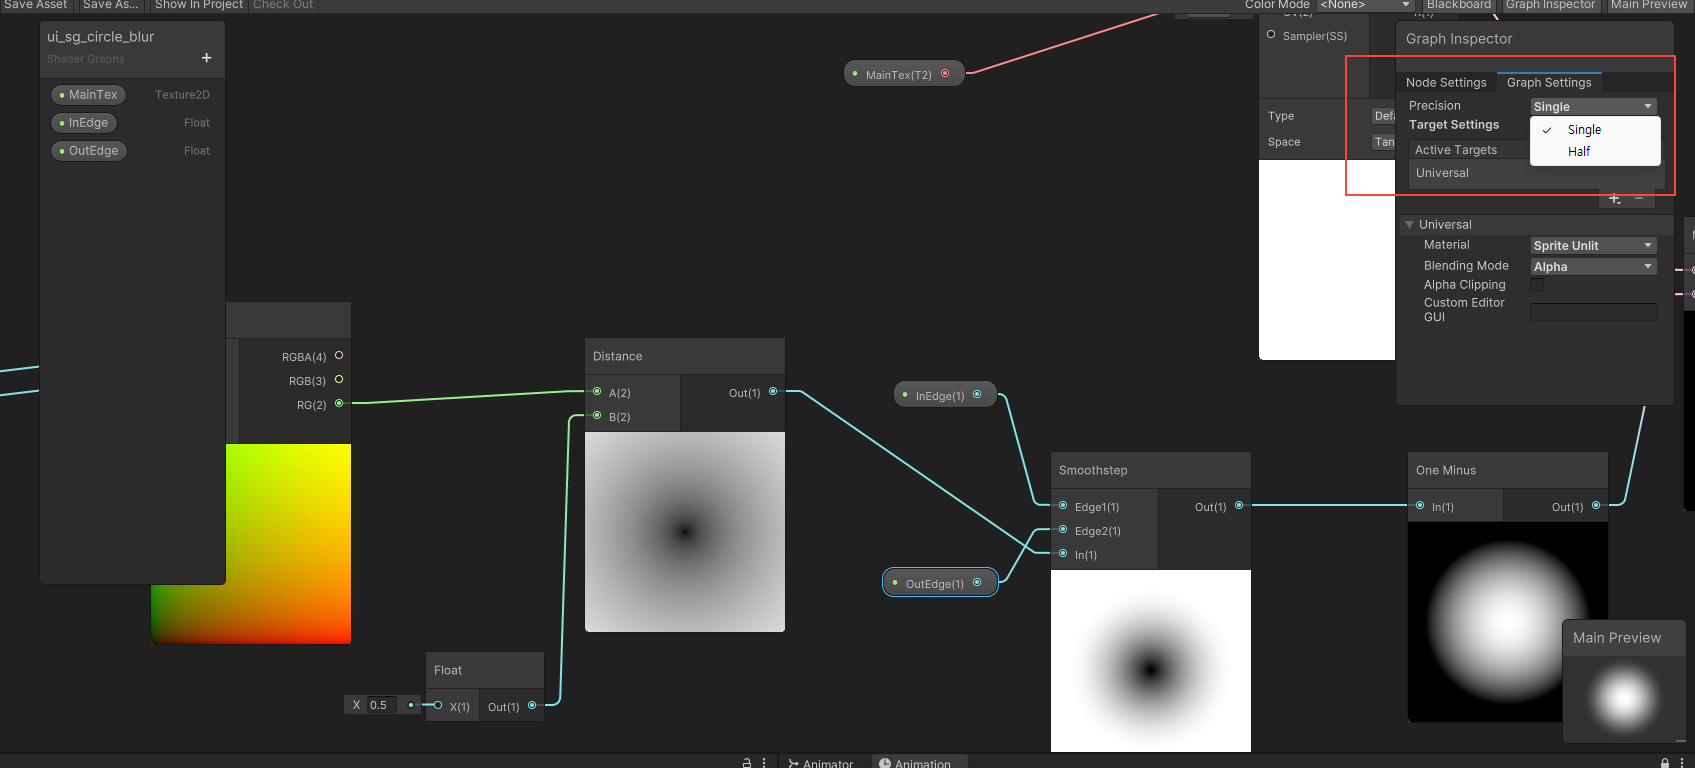
Half (16-bit) uses less space than Single (32-bit), so the GPU uses fewer registers and less memory during computation.
Outside of computations that require complex precision, switch property precision to Half.
How to apply to individual properties / how to apply to all

Gallery
연산량 큰 노드
Scene Depth / Scene Color nodes → Scene Depth, Scene Color, etc. resample the "rendered result texture," so depending on the pipeline they require additional passes or GBuffer access. In an RTS top-down view project, detail shaders that need Scene Depth are not expected.
Triplanar → When using Triplanar for backgrounds, use Biplanar instead.
Reduces sampling count and shrinks the blend math.
Parallax Occlusion Mapping node → Use Normal Map or MatcapNormal Map
Parallax Occlusion Mapping iterates height-map computation multiple times based on view angle,
creating detailed per-pixel depth effects.
It typically performs tens of texture samples internally and is very compute-heavy.
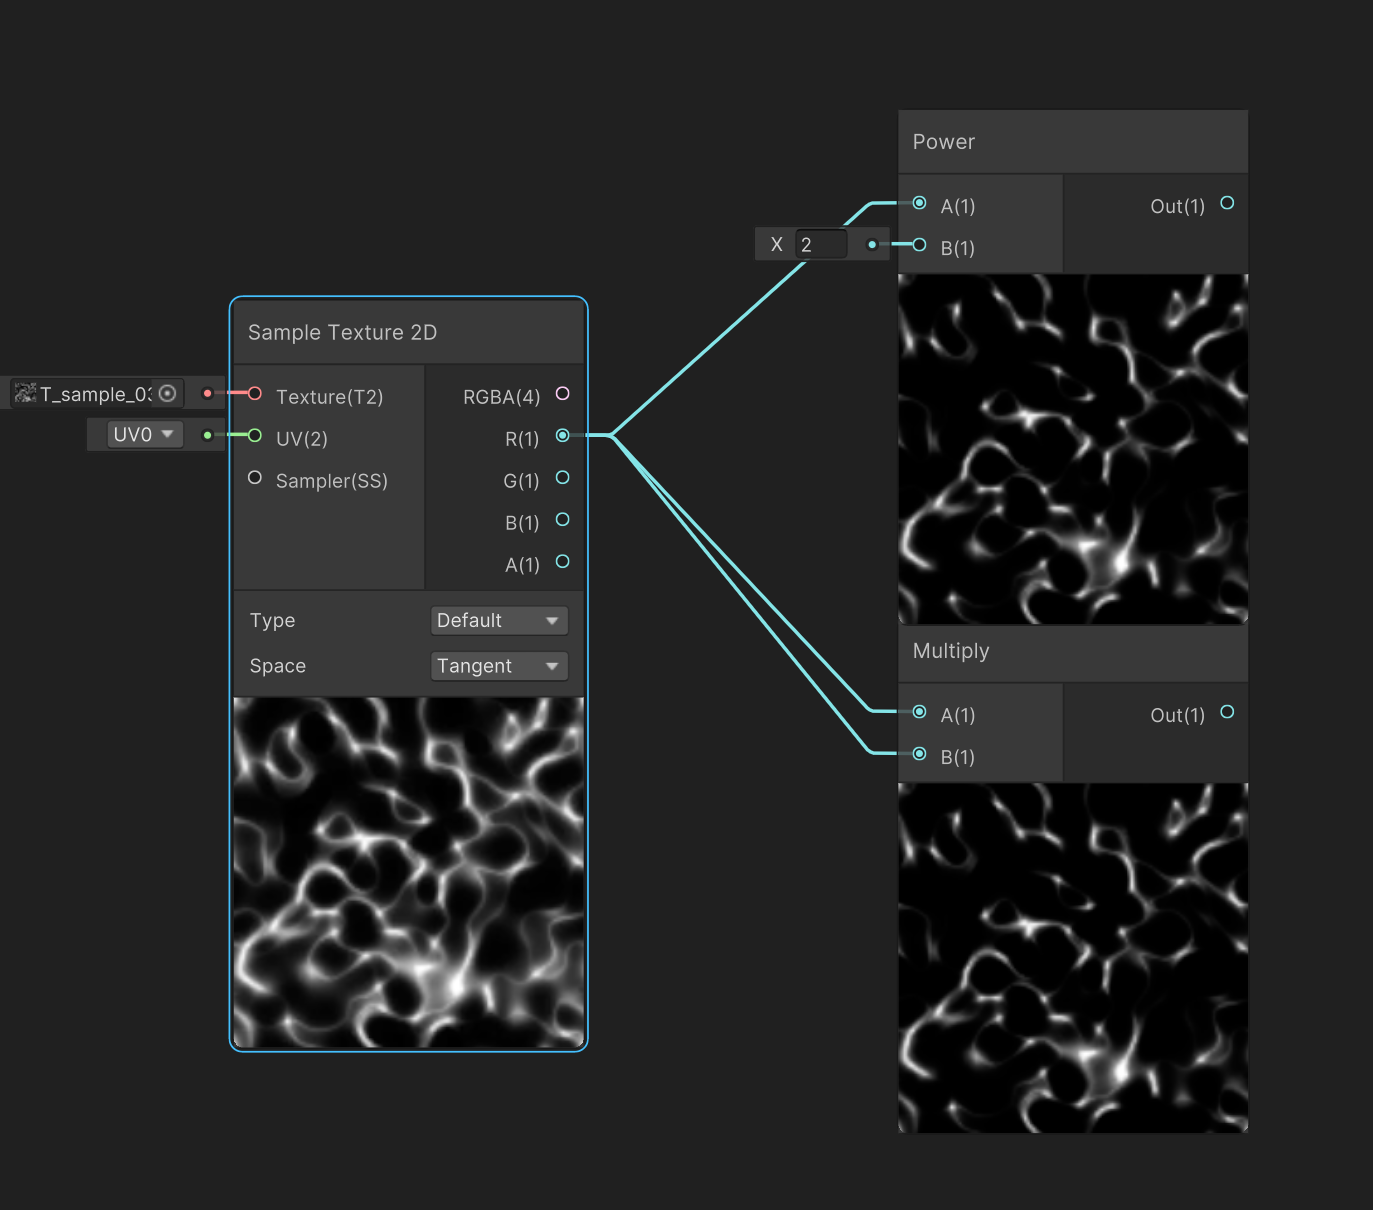
Power → When computing x², computing x * x (two multiplies) instead of Pow(x, 2) is lighter.
When reusability is not a major concern, modify the texture so the precomputed gradient values match instead.